Switching from automatic to manual transmission offers better control and driving experience but requires careful planning and understanding of the process, benefits, and challenges involved.
1.1 What is an Auto to Manual Transmission Swap?
An auto to manual transmission swap involves replacing an automatic transmission with a manual one, requiring new components like a clutch, flywheel, and pedal assembly, and modifying existing systems for proper functionality.
1.2 Benefits of Converting to a Manual Transmission
Converting to a manual transmission enhances driver control, improves fuel efficiency, and reduces maintenance costs. It also provides a more engaging driving experience, better acceleration, and increased vehicle value, making it a popular choice for enthusiasts seeking improved performance and connectivity to the road;
1.3 Challenges and Considerations
Converting from automatic to manual transmission involves mechanical complexity, requiring specialized tools and expertise; Compatibility issues with existing components, potential wiring modifications, and drivetrain adjustments must be addressed. Additionally, labor costs, time investment, and ensuring proper alignment are critical considerations for a successful swap.

Understanding the Transmission Swap Process
Switching from automatic to manual involves removing the existing transmission, installing a manual gearbox, and integrating necessary components like clutch and pedals, requiring mechanical expertise and precision.
2.1 Differences Between Automatic and Manual Transmissions
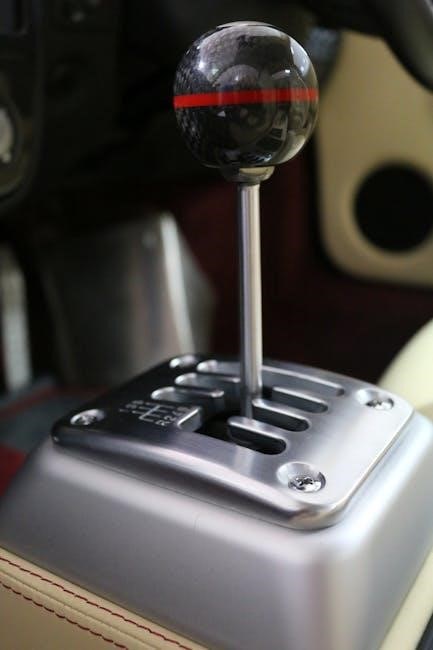
Manual transmissions rely on driver input to change gears via clutch and shifter, offering control and efficiency. Automatics use torque converters and complex systems to shift automatically, prioritizing convenience over driver involvement, making them smoother but less engaging for enthusiasts seeking precise acceleration and handling.
2.2 Key Components Involved in the Swap
The swap requires a manual transmission, clutch, flywheel, pedal assembly, and shifter. Additional components include linkage, bearings, and mounts. The transmission cross-member and wiring harness must be modified to accommodate the manual setup, ensuring proper integration with the vehicle’s engine and drivetrain system for optimal functionality and performance.
2.3 Tools and Expertise Required
Specialized tools such as a transmission jack, flywheel puller, and torque wrench are essential. Mechanical aptitude and understanding of transmission systems are critical. Experience with manual transmissions and wiring modifications is beneficial, ensuring a smooth and successful swap process without complications.
Choosing the Right Manual Transmission
Selecting the right manual transmission involves considering types, compatibility, gear ratios, and sourcing from OEM or aftermarket options to ensure optimal performance and reliability.
3.1 Types of Manual Transmissions Available
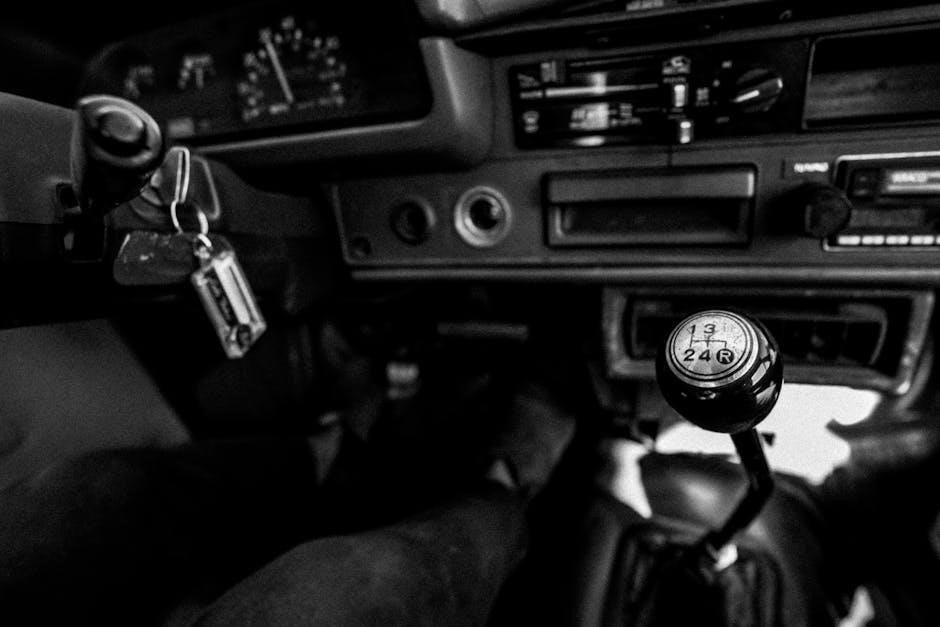
Common manual transmissions include 4-, 5-, and 6-speed options, with variations like close-ratio for performance or overdrive for efficiency. Some vehicles use specific gearboxes, such as the F5M21 or F5M22, while others may require adapters for compatibility. Choosing the right type depends on the vehicle’s drivetrain and intended use.
3.2 Compatibility with Your Vehicle
Ensuring compatibility is crucial when selecting a manual transmission. Factors include engine type, drivetrain configuration, and mounting points. For example, a BMW E36 may require specific OEM parts, while a Toyota IS300 might need a compatible gearbox like the W58. Always verify specifications to avoid installation issues.
3.3 Clutch and Flywheel Considerations
A proper clutch and flywheel setup is essential for a smooth manual transmission swap. The flywheel must match the engine specifications, and the clutch disc and pressure plate should be compatible with the new manual transmission. Always use high-quality components to ensure optimal performance and durability.
Necessary Parts for the Swap
Key components include the manual transmission, clutch, flywheel, pedal assembly, and linkage. Additional parts like mounts, cross-members, and wiring harnesses may be needed to complete the conversion successfully;
4.1 Transmission and Related Hardware
The manual transmission is the core component, requiring a compatible model. Additional hardware includes a flywheel, clutch disc, pressure plate, and bearing. Ensure all parts are OEM or high-quality aftermarket to guarantee reliability and smooth operation after the swap.
4.2 Engine and Drivetrain Modifications
Modifying the engine and drivetrain involves adapting the bellhousing and driveshaft to fit the manual transmission. Ensure proper alignment and compatibility with existing components. Some vehicles may require engine mount upgrades or adjustments to the cross-member for a seamless integration of the new manual system.
4.3 Additional Components (Pedals, Linkage, etc.)
Beyond the transmission, essential components include a clutch pedal assembly, linkage, and master/slave cylinders. These parts ensure proper clutch engagement and gear shifting. Additionally, modifying or replacing the gear shifter and its linkage may be necessary to accommodate the manual setup effectively.

Preparation and Planning
Assess your vehicle’s condition, create a detailed parts list, and set up a workspace. Plan a realistic timeline and gather tools to ensure a smooth swap process.
5.1 Assessing Your Vehicle’s Current State
Inspect your car’s existing automatic transmission, drivetrain, and engine compatibility. Check for any damage or wear on components that may affect the swap; Ensure the vehicle’s wiring, mounts, and cross-members are suitable for manual transmission installation to avoid unexpected issues during the process.
5.2 Creating a Detailed Parts List
Compile a comprehensive list of necessary components, including the manual transmission, clutch, flywheel, pedals, and linkage. Ensure compatibility with your vehicle’s make and model. Review online forums and guides to verify required parts, avoiding costly oversights and ensuring a smooth installation process. Organization is key to success.
5.3 Setting Up a Workspace and Timeline
Designate a clean, well-lit workspace with essential tools and equipment. Plan a realistic timeline, breaking the project into manageable stages to avoid rushing. Organize parts and materials for easy access, ensuring a smooth workflow. Proper preparation minimizes delays and ensures a successful transmission swap.

Installation Process
The installation involves removing the automatic transmission, fitting the manual gearbox, and connecting essential components like pedals and linkages. Precision and care are crucial for a seamless transition.
6.1 Removing the Automatic Transmission
Removing the automatic transmission requires disconnecting the battery, draining fluids, and detaching electrical connectors and hydraulic lines. Support the transmission with a jack or lift before unbolting it from the engine and chassis. Proper tools and a clean workspace are essential for safe and efficient removal.
6.2 Installing the Manual Transmission
Mounting the manual transmission involves aligning it with the engine’s bellhousing and securing it with bolts. Ensure the transmission is level and properly seated. Reconnect the driveshaft, install the clutch system, and attach the shifter mechanism. Verify all electrical and mechanical connections are secure and functioning correctly before proceeding.
6.3 Connecting and Adjusting Components
Connect the gear shifter and linkage, ensuring proper alignment with the transmission. Adjust the clutch cable or hydraulic system for smooth engagement. Bleed the clutch system to remove air bubbles. Test all components to ensure seamless operation and proper functionality, making final adjustments as needed for precise gear shifts and smooth acceleration.

Wiring and Electronics Modifications
Modifying the wiring harness and installing sensors and electronic controls ensures compatibility between the manual transmission and the vehicle’s electrical system.
7.1 Understanding Wiring Harness Requirements
Adapting the wiring harness is crucial for manual transmission functionality. This involves removing auto-specific wiring, adding sensors for vehicle speed, and ensuring compatibility with the new manual components. Proper modifications ensure seamless communication between the engine and transmission systems, preventing electrical malfunctions post-swap.
7.2 Installing Sensors and Electronic Controls
Installing sensors like vehicle speed and gear position is essential for electronic controls compatibility; These components ensure proper communication between the manual transmission and the car’s computer, enabling functions like speedometer accuracy and cruise control. Proper installation prevents errors and ensures smooth operation of the vehicle post-swap.
7.3 Testing the Electrical System
After installing sensors and controls, test the electrical system to ensure proper communication between components. Check wiring connections, verify sensor data accuracy, and confirm error-free operation. A functioning electrical system is crucial for smooth transmission performance and overall vehicle operation post-swap.
Pedal Assembly and Linkage Installation
8.3 Adjusting the Clutch Cable or Hydraulic System
Adjust the clutch cable or hydraulic system for proper engagement and disengagement. Ensure the clutch pedal operates smoothly, with the correct amount of free play. Proper alignment and tension are essential for optimal performance and to prevent premature wear on clutch components.
8.1 Installing the Clutch and Brake Pedals
Install the clutch and brake pedals, ensuring proper alignment and integration with the manual transmission system. This step involves mounting the pedals securely, connecting them to the respective linkages, and ensuring smooth operation for precise gear shifts and reliable braking functionality.
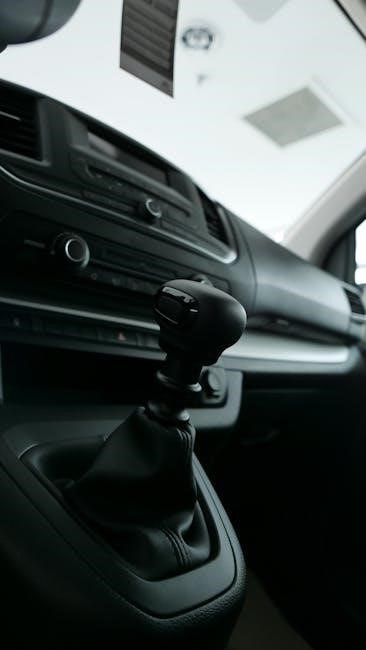
8.2 Setting Up the Gear Shifter and Linkage
Properly align and secure the gear shifter to the transmission, ensuring smooth and precise gear engagement. Adjust the linkage to achieve optimal shifting feel, making sure all gears engage cleanly and disengage fully for reliable operation during driving.
Adjust the clutch cable or hydraulic system for proper engagement and release. Ensure the slave cylinder aligns with the clutch actuator, and bleed the system to eliminate air bubbles. Fine-tune the pedal feel for smooth, consistent shifts, and verify operation before testing the transmission;
Post-Installation Checks and Testing
After installation, bleed the clutch system to remove air bubbles, test transmission and clutch operation, and ensure proper alignment and functionality of all components before driving.
9.1 Bleeding the Clutch System
Bleeding the clutch system removes air bubbles, ensuring proper engagement. Use a bleeding kit, start from the slave cylinder, and work towards the master cylinder. Maintain consistent pressure and monitor fluid levels to achieve optimal clutch performance and avoid spongy pedal feel during testing.
9.2 Testing the Transmission and Clutch
Test the transmission by shifting through all gears, checking for smooth engagement and no grinding. Ensure the clutch engages fully without slipping. Drive gradually, monitoring acceleration and gear transitions to confirm proper functionality and address any issues promptly to avoid further complications.
9.3 Ensuring Proper Alignment and Functionality
Verify the transmission and clutch alignment to prevent vibrations or noise. Check the driveshaft and mounts for secure installation. Test drivetrain components under various conditions to ensure smooth operation; Adjust the clutch cable or hydraulic system as needed for proper engagement and disengagement, ensuring a seamless driving experience.

Budgeting and Cost Considerations
Estimate parts and labor costs, considering transmission, clutch, and additional components. Factors like compatibility and professional assistance can increase expenses. Plan meticulously to stay within your budget.
10.1 Estimating Parts and Labor Costs
Estimating costs involves listing all necessary parts, such as the manual transmission, clutch, flywheel, and pedals, and factoring in labor expenses. Prices vary based on the vehicle make, transmission type, and whether you DIY or hire a mechanic. Researching suppliers and local shops helps in creating an accurate budget plan.
10.2 Factors That Could Increase Expenses
Unexpected repairs, specialty tools, and custom fabrication can inflate costs. Additional modifications, such as drivetrain adjustments or wiring harness upgrades, also add expense. Labor costs rise with complexity, especially if professional expertise is required for critical components like the clutch or transmission mounts, further straining the budget.
10.3 Tips for Staying Within Budget
Plan meticulously, sourcing parts from OEM or reputable sellers. Consider used or refurbished components to save costs. DIY where possible, but know when professional help is needed. Prioritize essential modifications and defer non-critical upgrades to avoid overspending and keep the project financially manageable.

Common Mistakes and Troubleshooting
Common errors include improper clutch alignment, incorrect pedal setup, and faulty wiring connections. Regularly inspect for leaks and test electrical systems to ensure smooth functionality and avoid costly repairs.
11;1 Avoiding Common Errors During the Swap
Avoiding common errors during the swap requires meticulous planning and attention to detail. Ensure proper alignment of the clutch and flywheel, correct installation of the transmission mounts, and precise wiring modifications. Double-checking each step helps prevent issues like misaligned gears, fluid leaks, or electrical malfunctions that can lead to costly repairs.
11.2 Diagnosing and Fixing Post-Swap Issues
After completing the swap, common issues may arise, such as misaligned gears, clutch slippage, or faulty electrical connections. Diagnose by testing clutch engagement, checking fluid levels, and inspecting wiring. Address problems promptly by adjusting components, replacing worn parts, and ensuring proper alignment. Early detection prevents further damage and ensures smooth operation.
11.3 When to Seek Professional Help
If post-swap issues persist or complex problems arise, such as faulty wiring or transmission misalignment, seeking professional assistance is crucial. Experienced mechanics can diagnose and repair intricate issues, ensuring reliability and performance. Attempting advanced fixes without expertise may lead to further damage or safety risks.