The Aprilaire 700 Automatic Humidifier is a whole-house solution designed to maintain optimal indoor humidity levels, integrating seamlessly with HVAC systems for enhanced comfort and energy efficiency.
1.1 Key Features of the Aprilaire 700
The Aprilaire 700 Automatic Humidifier is a high-capacity, whole-house solution designed to provide optimal humidity control. It features a built-in digital humidistat for precise moisture management and operates in both Automatic and Manual modes. The unit is compatible with both supply plenum and return duct installations, offering flexibility for various HVAC systems. With a coverage area of up to 4,200 square feet, it ensures consistent humidity levels throughout the home. The humidifier also includes a water panel that requires periodic replacement and features a drain system for efficient water management. Its compact design and quiet operation make it a reliable choice for residential use.
1.2 Importance of Proper Installation
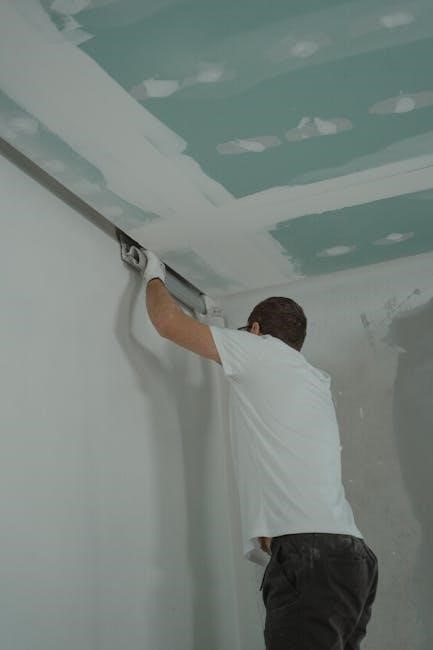
Proper installation of the Aprilaire 700 Automatic Humidifier is crucial for ensuring optimal performance, safety, and longevity. Incorrect installation can lead to mechanical issues, inefficient humidity control, and potential damage to the HVAC system. It is essential to follow the manufacturer’s guidelines, including electrical connections, water supply setup, and mounting requirements. Adhering to the installation manual ensures compliance with safety standards and prevents hazards such as water damage or electrical malfunctions. Proper installation also guarantees accurate humidity levels, energy efficiency, and a healthier indoor environment. Always consult a qualified HVAC professional if unsure about any step of the process.
Pre-Installation Considerations
Before installing the Aprilaire 700, ensure proper location selection, necessary tools, and materials are ready. Confirm compatibility with your HVAC system and water supply requirements for optimal performance.
2.1 Understanding the Installation Location
The Aprilaire 700 can be installed on either the supply plenum or the cold air return of a forced air handling system. Ensure the location provides adequate clearance for maintenance and service. The humidifier must be positioned to allow proper airflow and drainage. It’s crucial to avoid areas prone to freezing temperatures or excessive moisture. Proximity to cooling coils should be considered to prevent condensation issues. Always follow local building codes and manufacturer recommendations for installation location to ensure safety and optimal performance. Proper placement is essential for efficient humidity distribution throughout the home.
2.2 Essential Tools and Materials Needed
For a successful installation of the Aprilaire 700, gather the following tools and materials: a drill, screwdriver set, wrench, pliers, wire strippers, and a level. Materials include 6-inch duct, duct clamps, 24 VAC transformer, water supply tubing, and drain fittings. Ensure you have a 120 VAC outlet nearby. Refer to the control installation manual for specific wiring requirements. Proper tools and materials ensure a safe and efficient setup, adhering to manufacturer guidelines and local codes. This preparation is critical for optimal performance and long-term reliability of the humidifier system.
Step-by-Step Installation Process
Mount the humidifier, connect the water supply, and wire the system. Ensure proper electrical connections and follow safety guidelines. Consult the manual for specific wiring instructions.
3.1 Mounting the Humidifier
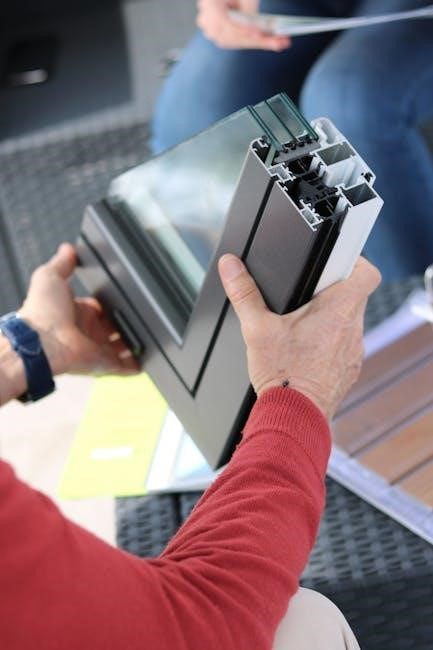
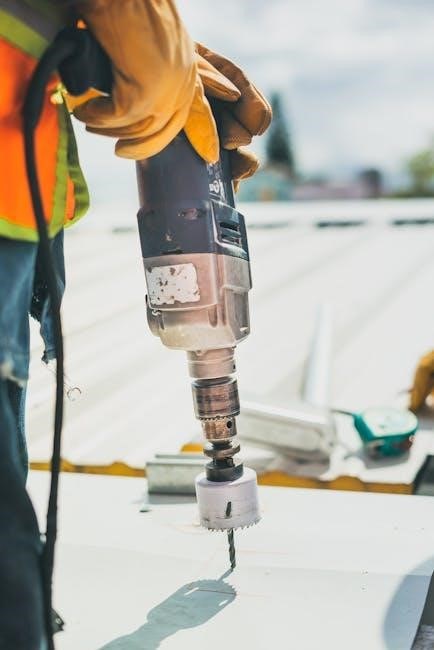
Mount the Aprilaire 700 humidifier on either the supply plenum or the cold air return of your HVAC system. Ensure the unit is level and securely fastened to prevent vibration. Use the provided template to mark and drill mounting holes for accurate placement. The humidifier dimensions must align with your system’s configuration. After mounting, connect the water supply and electrical components as per the manual. Ensure proper drainage and ventilation for optimal performance. Refer to the control installation manual for final system checkout and verification. Always follow safety guidelines to avoid installation errors. Secure the unit firmly to maintain stability during operation.
3.2 Connecting the Water Supply
Connect the water supply to the Aprilaire 700 humidifier by turning off the main water supply and installing a saddle valve on the water line. Use the provided tubing and fittings to link the valve to the humidifier’s water inlet. Ensure all connections are securely tightened and leak-free. A water strainer is recommended to filter debris and prevent clogs. For heat pump systems or when using hot water, refer to the control installation manual for specific instructions. Always test the water flow after connection to ensure proper operation and drainage. Follow safety guidelines to avoid water damage or electrical hazards.
3.3 Wiring the Humidifier
Begin by turning off the power to the HVAC system. Connect the Aprilaire 700 humidifier to a 120V AC outlet using the provided power cord, ensuring it is not an extension cord. The humidifier control requires a 24V AC source, typically connected to the R and C terminals on the HVAC system. Refer to the control installation manual for wiring diagrams. Connect the brown wires from the humidifier to the 24V AC terminals. Ensure all connections are secure and meet local electrical codes. Do not power the 120V outlet from the furnace blower circuit. Test the wiring after completion to ensure proper operation and safety. Always follow the manufacturer’s instructions for a safe and correct installation.
Humidifier Control System
The Aprilaire 700 features a dual-mode control system, offering both automatic and manual operation. The digital interface provides precise humidity monitoring and customizable settings for optimal comfort and efficiency.
4.1 Overview of the Digital Humidifier Control
The Aprilaire 700’s digital humidifier control offers advanced features for precise humidity management. It operates in both automatic and manual modes, allowing users to customize settings for optimal comfort. The control features a user-friendly interface with a test/reset button to diagnose and reset the system. It also displays software revision levels during operation. The digital control ensures seamless integration with HVAC systems and provides safety features like automatic shut-off during maintenance or low temperatures. Wiring diagrams and detailed setup instructions are included in the manual for proper installation and operation. This system is designed for efficiency, accuracy, and ease of use.
4.2 Setting Up Automatic Mode
Setting up automatic mode on the Aprilaire 700 involves configuring the digital control to regulate humidity based on the HVAC system’s operation. Turn the control knob to the “Auto” position and ensure the system is connected to the furnace blower. The control will automatically adjust humidity levels when the HVAC system runs. Use the test/reset button to verify proper function. Refer to the wiring diagram in the manual for connections. Automatic mode ensures efficient operation, maintaining optimal indoor humidity without manual adjustments, and integrates seamlessly with your home’s heating and cooling system for consistent comfort.
4.3 Configuring Manual Mode
Configuring manual mode on the Aprilaire 700 allows for precise control over humidity levels, ideal for specific conditions. Turn the control knob to the “Manual” position and adjust the humidistat to your desired setting. Ensure the bypass damper is open for proper airflow. If using hot water, verify the water supply is connected correctly. Press the test/reset button to activate the humidifier and check for operation. Manual mode is useful for maintaining consistent humidity in non-automatic systems or during specific weather conditions. Always return to “Auto” mode for normal operation to ensure energy efficiency and optimal performance.
Maintenance and Upkeep
Regular maintenance ensures optimal performance. Clean or replace the water panel annually, check drain functionality, and ensure proper water supply. Follow manual guidelines for electrical safety.
5.1 Cleaning the Water Panel
Regular cleaning of the water panel is essential for maintaining efficiency and preventing mold buildup. Turn off power and water supply before starting. Remove the panel and soak it in a mixture of water and mild detergent. Use a soft brush to gently scrub away mineral deposits and debris. Rinse thoroughly and allow it to dry before reinstalling. Ensure all connections are secure to maintain proper function. Repeat this process every 1-3 months or as indicated in the manual to optimize performance and indoor air quality.
5.2 Replacing the Water Panel
Replace the water panel every 1-2 years or when visibly worn. Turn off power and water supply before starting. Disconnect the water supply line and remove the old panel. Inspect the area for debris and ensure the tray is clean. Install the new panel, ensuring it fits securely and aligns properly. Reconnect the water supply and restore power. Check for leaks and test the humidifier to confirm proper operation. Regular replacement prevents mineral buildup and maintains efficient humidity control, ensuring optimal performance and indoor air quality throughout the year.

Safety Precautions
Always turn off power and water supply before servicing. Avoid using extension cords for the humidifier. Ensure proper shutdown of water supply lines to prevent leaks or damage.
6.1 Electrical Safety Guidelines
Ensure the humidifier is installed by a qualified technician to avoid electrical hazards. Always disconnect power before servicing. Use a dedicated 120 VAC outlet for the humidifier power cord, avoiding extensions. The control requires a 24 VAC source connected to the R and C terminals. Never power the 120 VAC outlet from the furnace blower circuit. Properly ground the system to prevent shocks. Follow all local electrical codes and manufacturer instructions. Keep wires securely connected to terminals to avoid short circuits. If unsure, consult a licensed electrician to ensure safe installation and operation.
6.2 Water Supply Safety Tips
Ensure the water supply line is shut off before installation or maintenance to prevent flooding. Use a saddle valve or appropriate tap to connect to the water supply, avoiding leaks. Install a water cutoff valve near the humidifier for easy access. Regularly inspect connections for signs of wear or damage. Use a water filter or strainer to prevent mineral buildup and debris. Drain the system in freezing temperatures to avoid damage. Never install the humidifier in areas prone to flooding or where water may collect. Always follow local plumbing codes and manufacturer guidelines for safe installation and operation.
Troubleshooting Common Issues
Check for water leaks, improper installation, or electrical issues. Verify proper water supply and drainage. Ensure the humidistat is set correctly and the system is clean. Consult the manual for advanced troubleshooting steps if issues persist.
7.1 Diagnosing Installation Problems
Diagnosing installation issues with the Aprilaire 700 requires a systematic approach. Check for improper mounting, wiring connections, or water supply setup. Ensure the humidifier is installed on a level surface and aligned correctly with the HVAC system; Verify that the water supply line is properly connected and not leaking. Review the wiring diagram to confirm all connections are secure and match the manual’s instructions. If issues persist, consult the troubleshooting section or contact a certified technician to resolve installation-related problems effectively.
7.2 Resolving Operational Issues
Operational issues with the Aprilaire 700 can often be addressed by checking the humidistat settings, water flow, and filter condition. Ensure the unit is powered and the humidistat is set correctly. If the humidifier isn’t producing mist, inspect the water panel for mineral buildup or blockages. Clean or replace the water panel as needed. Check for proper drainage and ensure the solenoid valve is functioning. Verify the HVAC system is operating in heating mode, as the humidifier relies on system airflow. Refer to the control manual for resetting the unit or troubleshooting specific error codes, and ensure all connections are secure.
Proper installation and maintenance ensure the Aprilaire 700 operates efficiently, enhancing indoor air quality and comfort while preventing issues like over-humidification and system damage.
8.1 Final Checks and Verification
After completing the installation, perform a thorough inspection to ensure all components are correctly connected and functioning. Verify that the humidifier is properly mounted, water supply lines are secure, and drainage systems are unobstructed. Check electrical connections for safety and proper wiring. Test the humidistat and control settings to confirm they respond accurately to humidity levels. Ensure the system operates quietly and efficiently. Refer to the user manual for specific verification steps. Finally, test the humidifier in both automatic and manual modes to confirm optimal performance and address any issues before finalizing the setup.
8.2 Ensuring Optimal Performance
To maintain peak performance of the Aprilaire 700, regular maintenance and monitoring are essential. Clean or replace the water panel as recommended to prevent mineral buildup and bacterial growth. Ensure proper drainage and check for any leaks in the system. Monitor humidity levels using the digital control and adjust settings to match your comfort preferences; Regularly inspect electrical connections and ensure they are secure. Schedule annual professional inspections to verify system efficiency and safety. By following these steps, you can ensure consistent and reliable operation of your Aprilaire 700, providing optimal indoor air quality and comfort year-round.